How to Upgrade MariaDB 5.5 to MariaDB 10.1 on CentOS/RHEL 7 and Debian Systems
MariaDB is a famous MySQL community fork that gained lots of popularity after Oracle acquisition of the MySQL project. On December 24th 2015 the latest stable version has been released which is MariaDB 10.1.10.
What’s new
Few new features have been added in this version and you can see them below:
- Galera, a multi-master cluster solution is now standard part of MariaDB.
- Added two new information schema tables added for better examining wsrep information. The tables in question are WSREP_MEMBERSHIP and WSREP_STATUS.
- Page compression for InnoDB and XtraDB. Page compression is similar to InnoDB COMPRESSED storage format.
- Page compression for FusionIO.
- Few optimization tweaks included are:
- Don’t create .frm files for temporary tables
- Use the MAX_STATEMENT_TIME to abort long running queries automatically
- malloc() function is used less and simple queries are executed faster
- Webscale patches
- Plugins update
- Security fixes (Many vulnerabilities have been addressed).
In this tutorial we are going to show you how to upgrade MariaDB 5.5 to MariaDB 10.1 latest stable version. You will need to have root access to the machine, where you will be performing the upgrade.
Note that if you are running earlier version of MariaDB the recommended course of upgrading is by going through each version. For example MariaDB 5.1 -> 5.5 -> 10.1.
Step 1: Backup or Dump All MariaDB Databases
As always when performing an upgrade creating backup of your existing databases is important. You can either dump the databases with command such:
# mysqldump -u root -ppassword --all-databases > /tmp/all-database.sql
Or alternatively, you can stop the MariaDB service with:
# systemctl stop mysql
And copy the databases directory in a separate folder like this:
# cp -a /var/lib/mysql/ /var/lib/mysql.bak
In case of failure of the upgrade you can use one of the above copies to restore your databases.
Step 2: Add the MariaDB Repository
A good practice is to make sure your packages are up to date before making any changes to your repo files. You can do this with:
# yum update          [On RHEL/CentOS 7]
# apt-get update      [On Debian/Ubuntu]
On RHEL/CentOS 7
If you have any old packages, wait for the installation to finish. Next, you will need to add the MariaDB 10.1 repo for CentOS/RHEL 7/ distributions. To do this, use your favorite text editor such as vim or nano and open the following file:
# vim /etc/yum.repos.d/MariaDB10.repo
Add the following text in it:
# MariaDB 10.1 CentOS repository list - created 2016-01-18 09:58 UTC
# http://mariadb.org/mariadb/repositories/
[mariadb]
name = MariaDB
baseurl = http://yum.mariadb.org/10.1/centos7-amd64
gpgkey=https://yum.mariadb.org/RPM-GPG-KEY-MariaDB
gpgcheck=1
Then save and exit the file (for vim :wq)
On Debian and Ubuntu
Run the following series of commands to add the MariaDB PPA on your system:
# apt-get install software-properties-common
# apt-key adv --recv-keys --keyserver hkp://keyserver.ubuntu.com:80 0xcbcb082a1bb943db
# add-apt-repository 'deb [arch=amd64,i386] http://kartolo.sby.datautama.net.id/mariadb/repo/10.1/ubuntu wily main'
Important: Don’t forget to replace the ubuntu wily with your distribution name and release.
Step 3: Remove MariaDB 5.5
If you have taken backup of your databases as suggested in Step 1, you are now ready to proceed and remove the existing MariaDB installation.
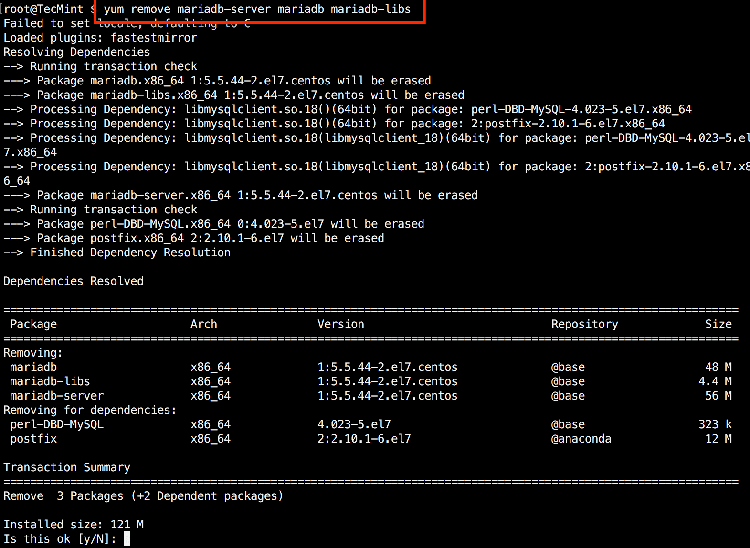
To do this, simply run the following command:
# yum remove mariadb-server mariadb mariadb-libs         [On RHEL/CentOS 7]
# apt-get purge mariadb-server mariadb mariadb-libs      [On Debian/Ubuntu]
Next, clean the repository cache:
# yum clean all          [On RHEL/CentOS 7]
# apt-get clean all      [On Debian/Ubuntu]
Step 4: Installing MariaDB 10.1
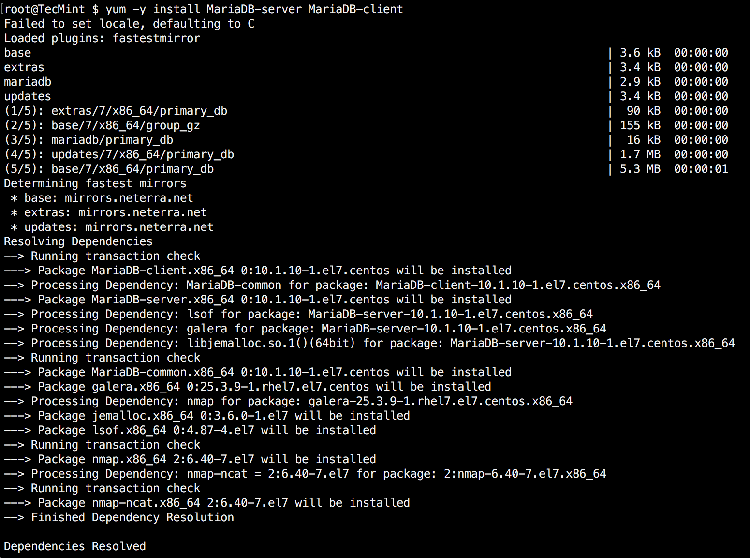
Now it’s time to install the newer version of MariaDB, by using:
# yum -y install MariaDB-server MariaDB-client      [On RHEL/CentOS 7]
# apt-get install mariadb-server MariaDB-client     [On Debian/Ubuntu]
Once the installation is complete, you can start the MariaDB service with:
# systemctl start mariadb
If you want MariaDB to automatically start after system boot, run:
# systemctl enable mariadb
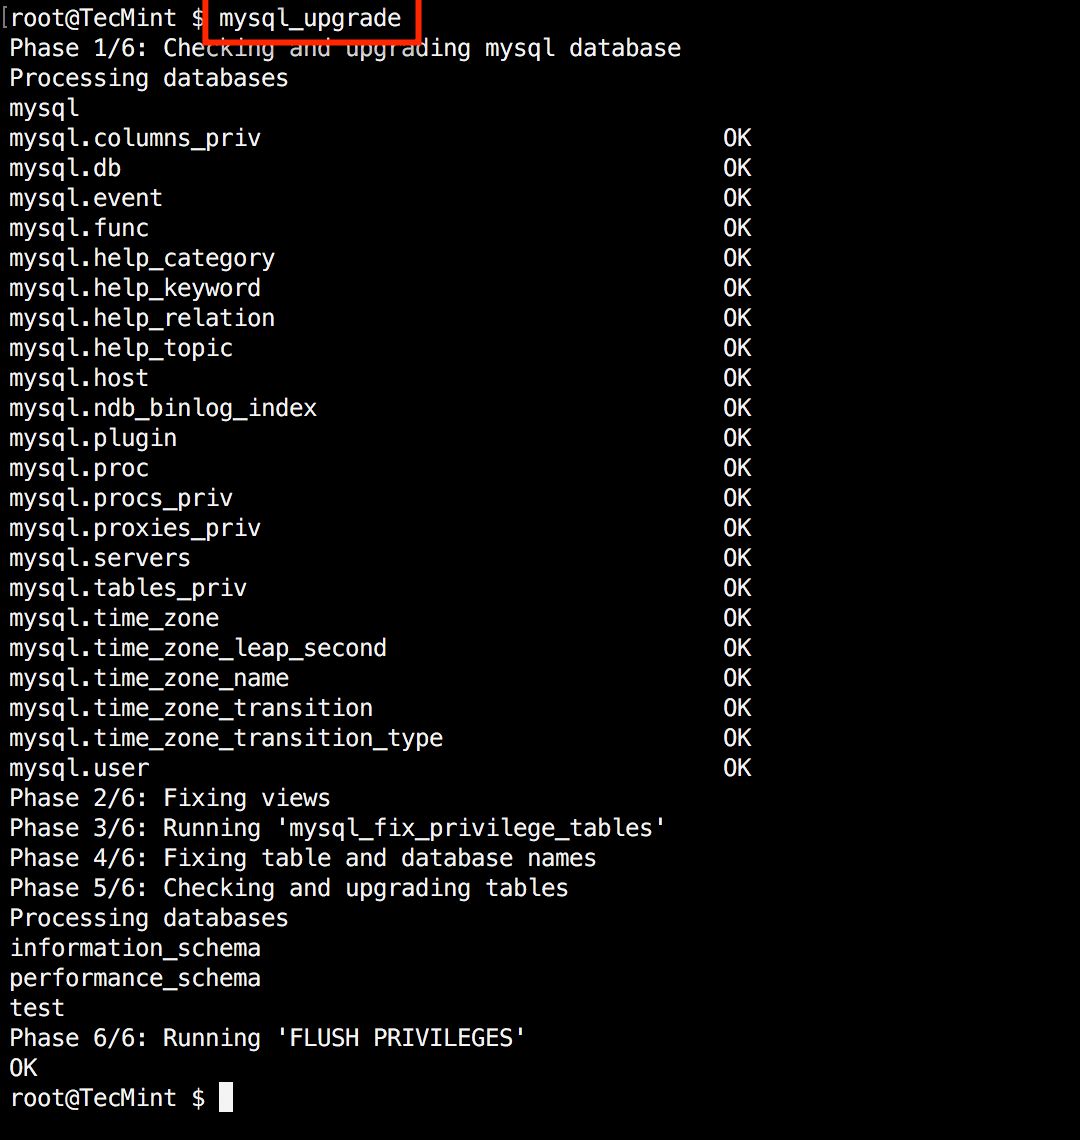
Finally run the upgrade command to upgrade MariaDB with:
# mysql_upgrade
To verify that the upgrade was successful, run the following command:
# mysql -V
Congratulations, your upgrade has been completed!
Conclusion
MariaDB/MySQL upgrades are always tasks that should be performed with extra caution. I hope yours completed smoothly. If you encounter any issues, please do not hesitate to post a comment.


